
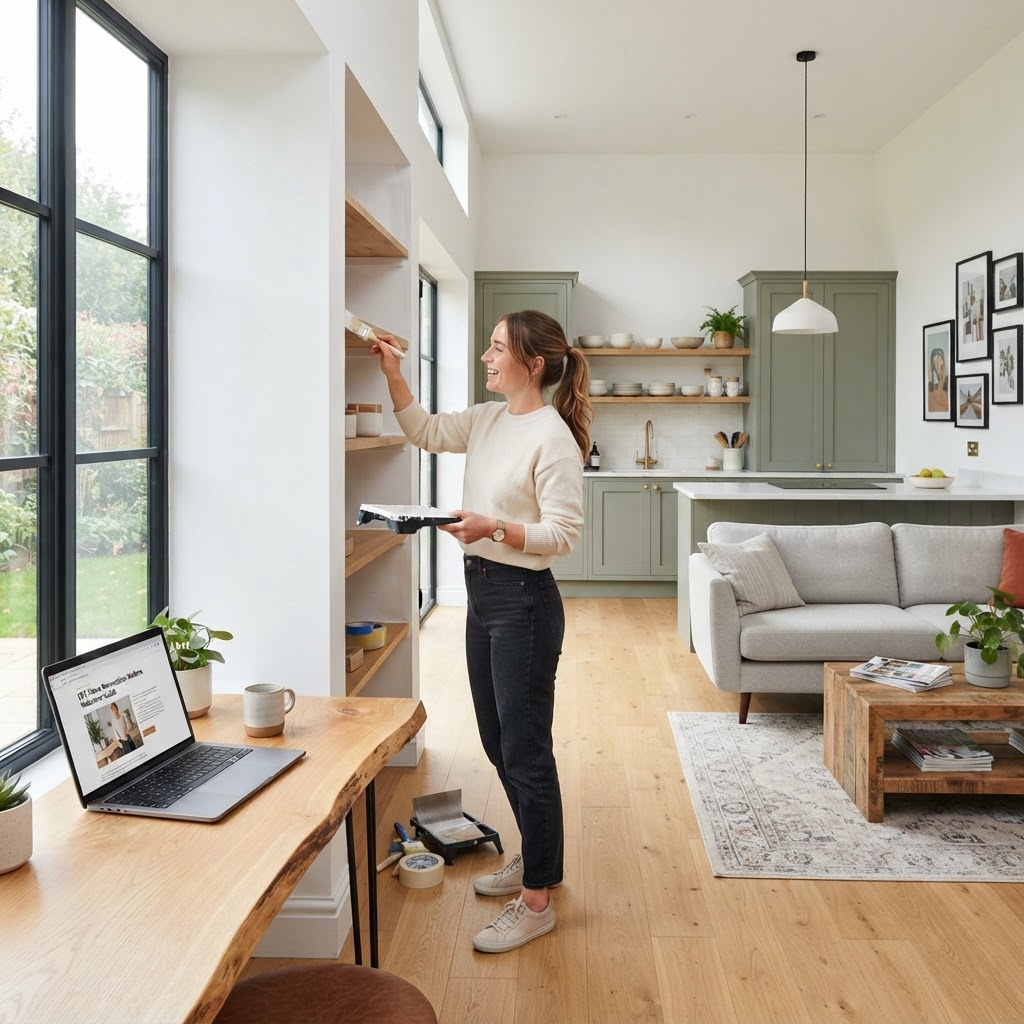
Elevate your home decor and maximize storage space with this simple, DIY-friendly floating shelf project. Learn the step-by-step process to achieve a professional-grade finish that transforms any room in your house.
The Weekend Warrior: How to Install Custom Floating Shelves
There is nothing quite as satisfying as stepping back to admire a home improvement project you completed with your own two hands. Floating shelves are the ultimate entry-level project that provides high-impact results, offering a clean, modern look while solving storage dilemmas in kitchens, living rooms, or home offices. Whether you are a first-time renovator or a seasoned DIY enthusiast, this guide will help you install beautiful floating shelves with confidence.
Materials and Tools Needed
Before you begin, gather your supplies to ensure a smooth workflow. Precision is key in this project, as even a slight measurement error can cause your shelves to sag or look lopsided.
- Floating shelf kit (with heavy-duty brackets)
- Stud finder
- Level (a 24-inch bubble level or laser level is ideal)
- Power drill/driver
- Drill bits (including a pilot hole bit)
- Tape measure and pencil
- Safety glasses
- Painter's tape
Step-by-Step Installation
1. Planning and Positioning
Take a moment to visualize the final look. Hold your shelf up to the wall to determine the height. Use painter’s tape to mark the wall; this allows you to adjust the position without making permanent pencil marks on your paint.
2. Locate Your Studs
This is the most critical step. Floating shelves are only as strong as their connection to the wall frame. Use your stud finder to locate the center of the studs behind the drywall. Mark these locations clearly. If your shelf spans multiple studs, ensure your bracket alignment matches these marks perfectly.
3. Leveling the Bracket
Hold your bracket up to the wall at your desired height. Place your level on top of the bracket to ensure it is perfectly horizontal. Even a tiny tilt will be magnified once the shelf is attached. Mark the pilot hole locations on the wall through the bracket mounting holes.
4. Anchoring the Bracket
Using a drill bit slightly smaller than your mounting screws, drill pilot holes into the studs. This prevents the wood from splitting and makes driving the screws much easier. Once the holes are ready, screw the bracket firmly into the wall. Give it a gentle tug to ensure it is anchored securely into the studs.
5. Mounting the Shelf
Most floating shelves are designed to slide onto the mounting posts of the bracket. Align the pre-drilled holes in the back of the shelf with the mounting rods and slide it on. If it feels tight, use a rubber mallet to gently tap the shelf flush against the wall. Secure the shelf to the bracket using the provided set screws, usually located on the underside of the shelf.
Expert Tips for Success
- Use Toggle Bolts: If you happen to miss a stud on one of the mounting points, do not rely on drywall anchors alone. Use heavy-duty toggle bolts to provide the necessary weight-bearing strength.
- The Weight Limit Rule: Always observe the weight limit suggested by the manufacturer. While your shelves might look sturdy, floating shelves rely on the physics of leverage; putting too much weight on the far end can compromise the wall connection over time.
- Check the Wall Condition: If you are installing in an older home with plaster walls, be prepared for more resistance. Use a masonry bit if you hit brick, and ensure you have the appropriate fasteners for non-drywall surfaces.
Safety First
Always wear your safety glasses when drilling into drywall, as falling dust and debris can easily irritate your eyes. If you are drilling near electrical outlets or light switches, turn off the power to that room at the circuit breaker to avoid accidental contact with hidden wiring. If you aren't sure where your wires run, a non-contact voltage tester is a very small investment that provides significant peace of mind.
Ready for a Bigger Transformation?
Installing floating shelves is a great way to dip your toes into home renovation. However, we understand that sometimes projects grow in scope, or you simply want the assurance of expert craftsmanship for more complex home improvements. Whether you are planning a full room renovation or need assistance with tricky installations, our team at QuickFlipz is here to help. Contact us today to discuss your next project and let our professionals bring your vision to life with precision and care.
Related Articles
Revitalize Your Space: A Beginner’s Guide to Installing Floating Shelves
Transform your blank walls into functional storage and stylish displays with this easy-to-follow guide. Learn how to install floating shelves safely and securely for an instant home upgrade.
Revitalize Your Space: A Beginner’s Guide to Installing Floating Shelves
Transform your blank walls into functional storage and stylish displays with this easy-to-follow guide. Whether you are a first-time renovator or a seasoned pro, installing floating shelves is the perfect weekend project to refresh your home’s aesthetic.