

Transform your living room with a fresh coat of paint! This comprehensive DIY guide offers step-by-step instructions, helpful tips, and all the materials you need to create a stunning space. Whether you're a novice or seasoned DIYer, you'll find valuable insights to enhance your home.
Revamp Your Space: A DIY Guide to Painting Your Living Room
A fresh coat of paint can completely transform the look and feel of your living room, making it more inviting and personalized to your taste. Whether you want to create a cozy atmosphere or a brighter, more energetic space, painting is a manageable and rewarding DIY project. Grab your tools, and let’s get started!
Materials Needed
Before you dive in, gather the following materials:
- Paint: Choose your desired color and finish (satin or semi-gloss works well for living rooms).
- Primer: Essential for covering dark colors or stains, especially if you're making a significant color change.
- Paint Roller and Tray: For smooth and even application.
- Paintbrushes: A few sizes for edges and detail work.
- Painter’s Tape: To protect trim, windows, and doors.
- Drop Cloths or Plastic Sheeting: To protect your furniture and floors from spills.
- Ladder: For reaching higher parts of the walls.
- Sandpaper: To smooth out any rough spots on the walls prior to painting.
- Cleaning Supplies: Such as sponges and rags for post-paint cleanup.
- Safety Gear: Including gloves, a mask for dust and paint fumes, and safety glasses.
Step-by-Step Instructions
1. Prepare the Room
- Clear the Space: Remove all furniture or push it to the center and cover it with drop cloths.
- Remove Wall Fixtures: Take down any wall art, mirrors, and light switch covers.
2. Clean and Repair the Walls
- Dust and Wash: Wipe the walls with a damp sponge to remove dust and grease.
- Fill Holes: Use spackle or caulk to fill in any holes or cracks, then sand them smooth once dry.
3. Tape and Protect
- Apply Painter’s Tape: Use tape along trim, windows, and any areas you want to keep paint-free. Be sure to press down firmly for a good seal.
- Lay Drop Cloths: Spread protective coverings on the floor to avoid paint spills.
4. Prime the Walls (if necessary)
- Apply Primer: Using a roller, apply primer to the walls, focusing on areas with patches or previous dark colors. Let it dry as indicated on the label.
5. Paint the Walls
- Cut In Around Edges: Start by using a brush to paint around the edges of the walls where the roller can’t reach.
- Roll Paint on Walls: Dip the roller into the paint tray and apply paint in a W pattern to ensure even coverage. Work in sections and blend the edges as you go.
- Add Additional Coats: Depending on the color and finish, you may need a second coat. Wait for the first coat to dry completely before applying the next.
6. Clean Up
- Remove Painter’s Tape: Before the paint is fully dry, peel away the painter’s tape for clean lines.
- Clean Your Tools: Wash brushes and rollers with soap and water if using latex paint or solvents if using oil-based paint. Store unused paint properly for touch-ups later.
7. Final Touches
- Reinstall Fixtures: Once the paint is completely dry, reattach light switch covers and hang your artwork.
- Move Furniture Back: Arrange your furniture to create your newly updated living space.
Safety Tips
- Ventilation: Always ensure your workspace is well-ventilated. Open windows and doors to reduce paint fumes, or consider using a fan.
- Protective Gear: Wear a mask, especially when sanding or painting in poorly ventilated areas, and goggles to protect your eyes.
- Child and Pet Safety: Keep kids and pets out of the painting area to avoid accidents with paint and tools.
- Follow Label Directions: Always follow the instructions on paint and primer labels for the best results and safety.
Conclusion
Painting your living room can be a fulfilling DIY project that enhances the atmosphere of your home. By following these steps and using the right materials, you’ll create a beautiful and welcoming space that reflects your personality. Don’t hesitate to reach out to QuickFlipz for professional help if you prefer a more polished finish or don't have the time to tackle the project yourself. Happy painting!
Call to Action: For more advanced renovations or if you want to take your home improvement to the next level, contact QuickFlipz today for a consultation and let us help you turn your dream home into a reality!
Related Articles
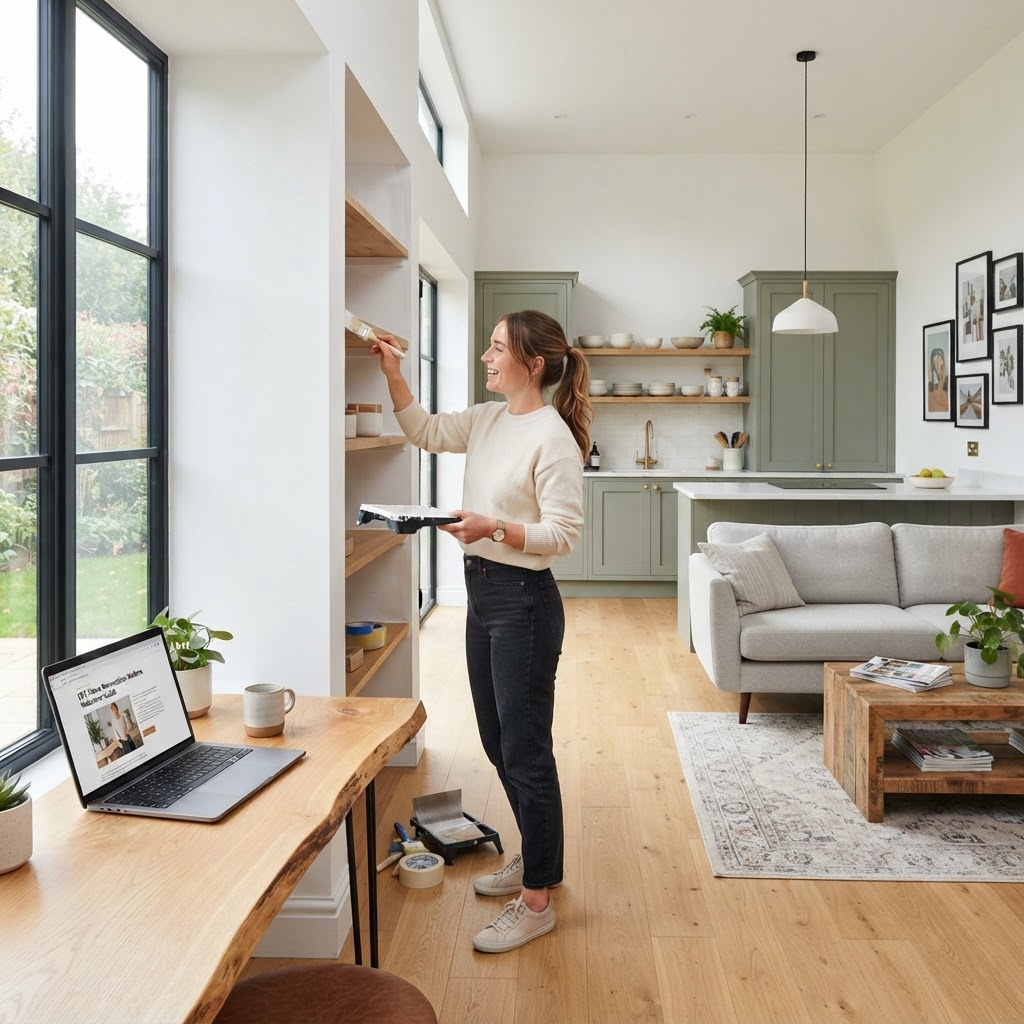
The Weekend Warrior: How to Install Custom Floating Shelves
Elevate your home decor and maximize storage space with this simple, DIY-friendly floating shelf project. Learn the step-by-step process to achieve a professional-grade finish that transforms any room in your house.
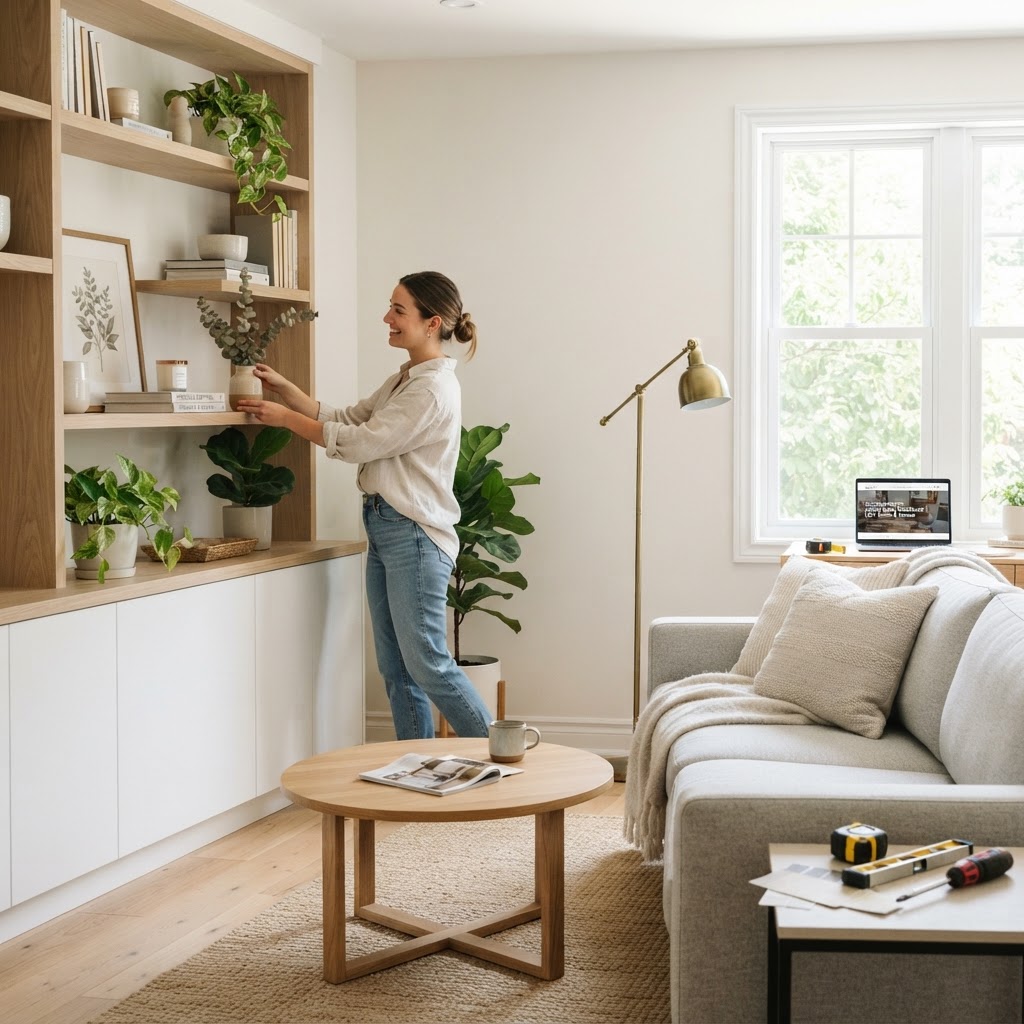
Revitalize Your Space: A Beginner’s Guide to Installing Floating Shelves
Transform your blank walls into functional storage and stylish displays with this easy-to-follow guide. Learn how to install floating shelves safely and securely for an instant home upgrade.
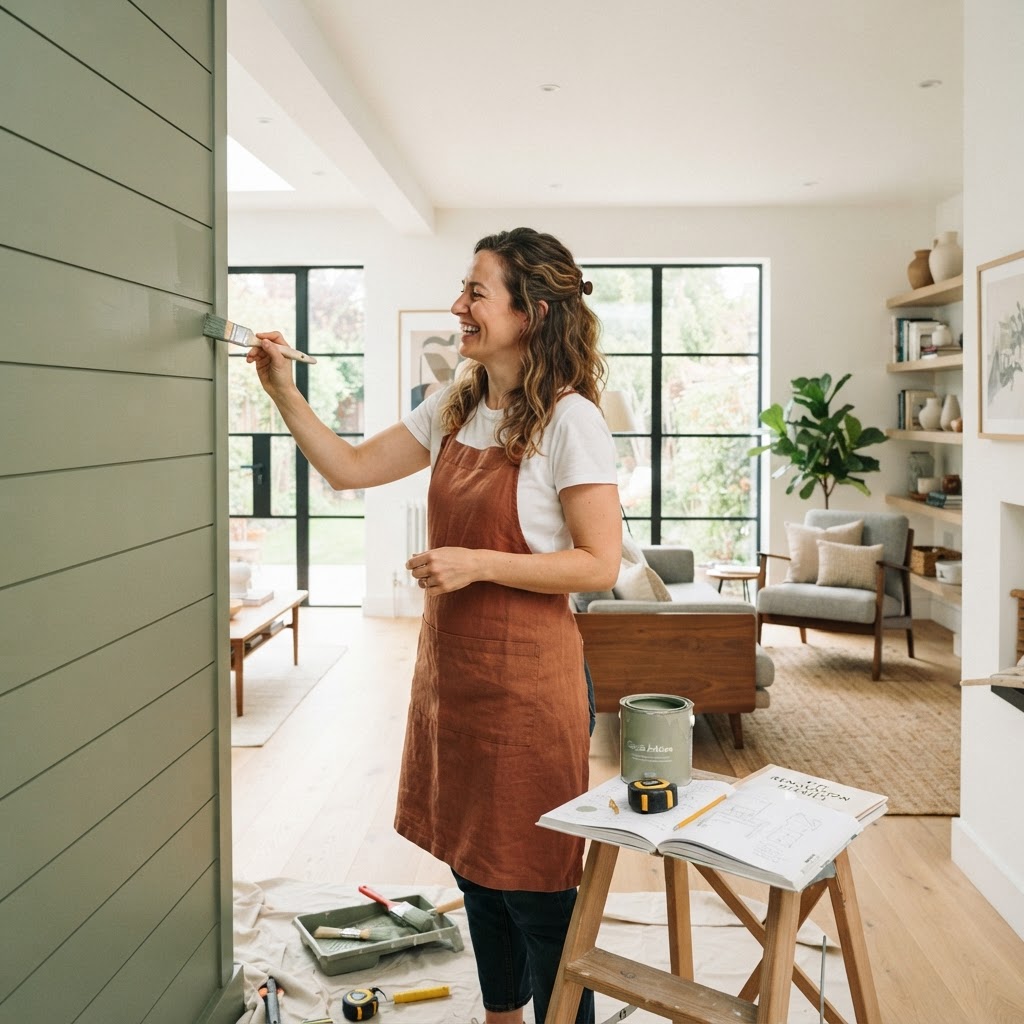
Revitalize Your Space: A Beginner’s Guide to Installing Floating Shelves
Transform your blank walls into functional storage and stylish displays with this easy-to-follow guide. Whether you are a first-time renovator or a seasoned pro, installing floating shelves is the perfect weekend project to refresh your home’s aesthetic.