
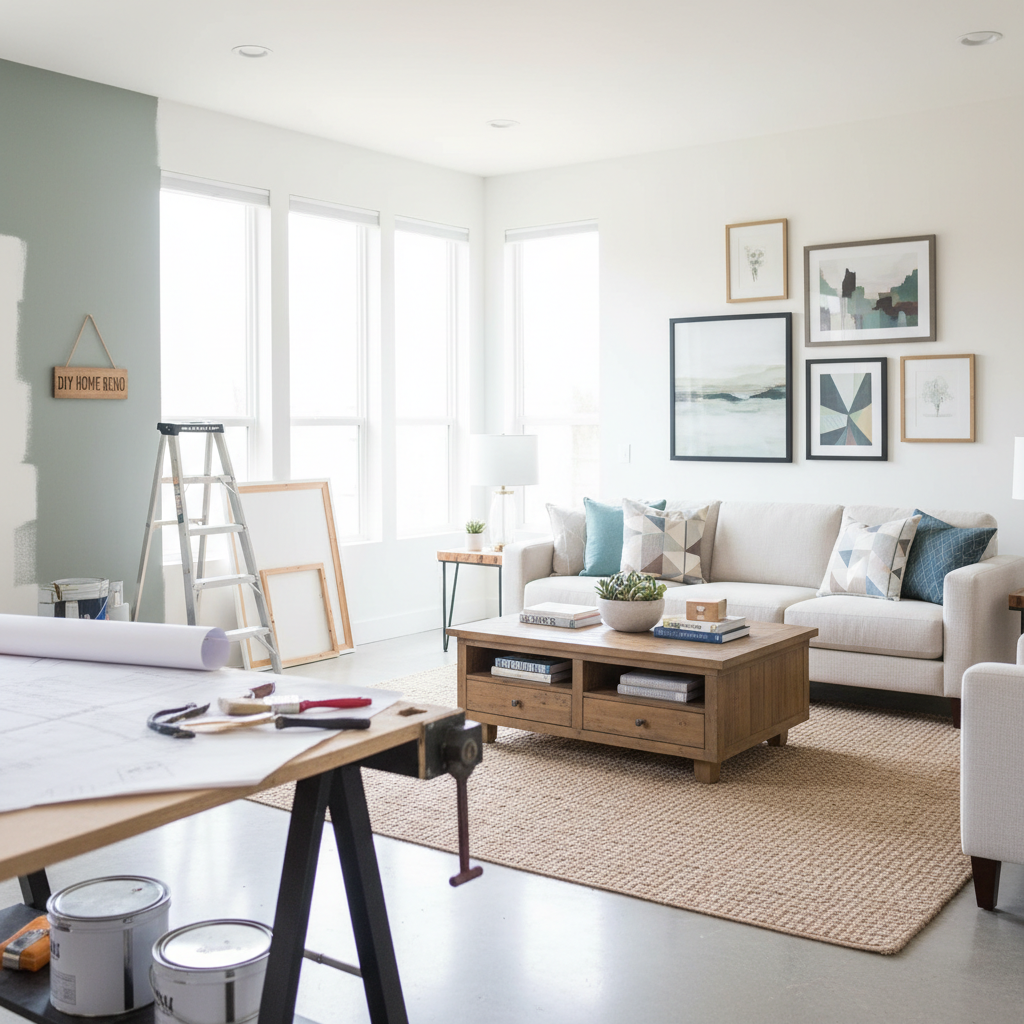
Are you ready to breathe new life into a room? Painting is a simple yet effective home improvement project that anyone can tackle! This step-by-step guide will walk you through everything you need to know to achieve a professional-looking finish, whether you're a first-time renovator or a seasoned homeowner.
Revamp Your Space: A DIY Guide to Painting Your Room
Are you looking to transform your living space without breaking the bank? Painting your room is one of the most impactful home improvement projects you can dive into. It’s a rewarding task that can dramatically change the feel and look of your home. In this guide, we will walk you through the entire painting process with detailed instructions, materials list, and essential safety tips. Let’s get started!
Materials Needed
Before you start, gather all the materials you will need:
- Paint (Choose a high-quality interior paint in your desired color)
- Primer (If needed, especially for drastic color changes or covering stains)
- Painter's tape (To protect trim and create clean lines)
- Drop cloths or plastic sheets (To keep the floor clean)
- Paint rollers (With extension handle for larger areas)
- Paintbrushes (For edges and corners, a 2-3 inch angled brush is recommended)
- Paint tray and liners
- Sandpaper or a sanding block (To smooth surfaces if necessary)
- Safety goggles and dust mask (To protect while sanding)
- Step ladder (If you plan to paint high walls)
- Rags or paper towels (For clean-up)
- Water bucket (If using water-based paint for cleanup)
Step-by-Step Instructions
Step 1: Prepare the Room
- Clear the Space: Remove furniture from the room or move it to the center and cover it with drop cloths. Take down any wall hangings and cover the floors completely.
- Tape the Edges: Use painter’s tape to protect any woodwork, such as baseboards, door frames, and window sills. Ensure the tape adheres firmly to avoid paint bleeding through.
- Clean the Walls: Wipe down the walls with a damp cloth to remove dust and cobwebs, and allow to dry. This helps the paint adhere better.
Step 2: Repair the Surfaces
- Fill Holes and Cracks: Use spackle or joint compound to fill any holes, cracks, or imperfections. Allow it to dry and sand smooth.
- Sand the Walls: If your walls have imperfections or are painted with a glossy finish, lightly sand them to create a better surface for painting. Wipe away dust afterward.
Step 3: Apply Primer (If Needed)
- Prime the Walls: If you are painting a lighter color over a darker one, or if the wall surface has stains, apply a coat of primer. Follow the manufacturer’s instructions on drying times before proceeding.
Step 4: Start Painting
- Cut in the Edges: Using a paintbrush, start painting the edges around the room (corners, edges of windows, and doors). This is known as
Related Articles
The Weekend Warrior: How to Install Custom Floating Shelves
Elevate your home decor and maximize storage space with this simple, DIY-friendly floating shelf project. Learn the step-by-step process to achieve a professional-grade finish that transforms any room in your house.
Revitalize Your Space: A Beginner’s Guide to Installing Floating Shelves
Transform your blank walls into functional storage and stylish displays with this easy-to-follow guide. Learn how to install floating shelves safely and securely for an instant home upgrade.
Revitalize Your Space: A Beginner’s Guide to Installing Floating Shelves
Transform your blank walls into functional storage and stylish displays with this easy-to-follow guide. Whether you are a first-time renovator or a seasoned pro, installing floating shelves is the perfect weekend project to refresh your home’s aesthetic.