
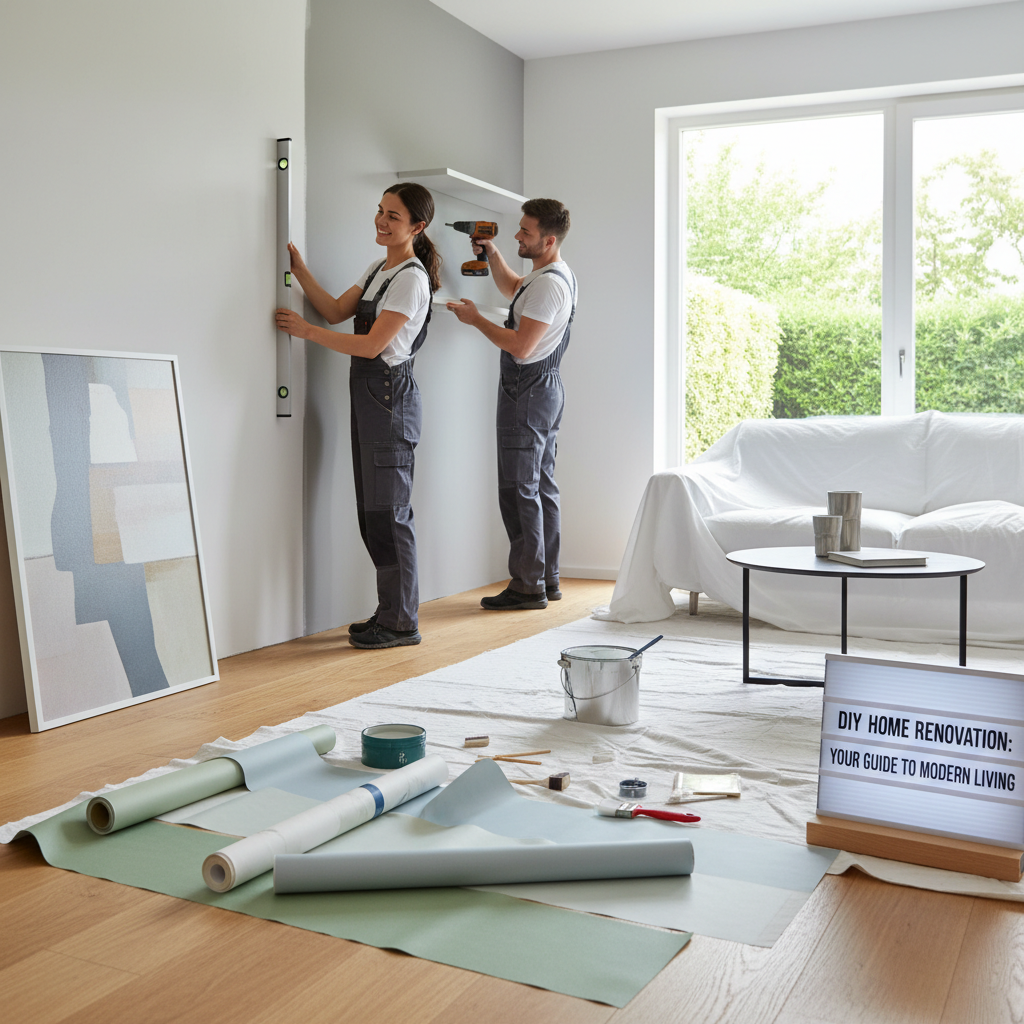
Transform your living space on a budget with our easy DIY guide to painting your living room. Whether you're a first-time renovator or a seasoned DIYer, this project is both manageable and rewarding!
Revamp Your Walls: A DIY Guide to Painting Your Living Room
Transforming your living room with a fresh coat of paint is a simple yet impactful home improvement project that you can tackle on your own. This guide will walk you through everything you need to know to plan, prepare, and execute the perfect paint job. Let’s get started!
Materials Needed
Before you begin, gather the following materials:
- Paint: Choose your preferred color and finish (matte, eggshell, satin, or semi-gloss).
- Primer (optional): Good if painting over dark colors or patchy walls.
- Paint rollers: For larger areas, consider a roller with a long handle.
- Paint brushes: A 2- to 3-inch angled brush for edges and trim.
- Painter's tape: To protect areas you don’t want painted.
- Drop cloths: To protect floors and furniture from paint splatters.
- Paint tray: For easy access to paint with your roller.
- Sandpaper: Medium and fine grit for preparing walls.
- Cleaning supplies: Soap, water, and sponges for prep and cleanup.
- Ladder: If you’re painting higher walls or ceilings.
- Safety gear: Mask, goggles, and gloves to protect yourself.
Step-by-Step Instructions
Step 1: Prepare the Space
- Clear the area: Move furniture out of the room or into the center and cover them with drop cloths.
- Remove wall décor: Take down pictures, mirrors, and wall hangings.
- Clean the walls: Use soap and water to remove dirt and grease that may affect paint adhesion.
- Repair imperfections: Fill holes or cracks with spackling paste and sand smooth.
Step 2: Prep the Walls
- Sand the walls: Lightly sand the areas you repaired and any rough spots to ensure a smooth finish. Wipe down the walls with a damp cloth to remove dust.
- Apply painter's tape: Tape around the edges of windows, doors, and any trim. Ensure the tape adheres tightly against the wall for clean lines.
Step 3: Prime the Walls (if necessary)
- Apply primer: Use a roller for large areas and a brush for corners. This step helps the new paint color pop and improves adhesion.
- Let it dry: Follow the manufacturer’s instructions for drying times before moving to the next step.
Step 4: Paint the Walls
- Start with the edges: Using your angled brush, paint around the edges, windows, and door frames.
- Roll the walls: Dip your roller into the paint tray and roll it onto the wall in a W pattern to avoid streaks. Work in small sections.
- Apply a second coat: For a more vibrant color or to cover any patches, let the first coat dry and then apply a second coat.
Step 5: Clean Up
- Remove painter’s tape: Pull off the tape while the paint is still slightly wet to avoid peeling.
- Clean tools: Rinse brushes and rollers with warm, soapy water.
- Put everything back: Once the paint is fully dry, move your furniture back into place and hang your wall décor.
Safety Tips
- Ventilation: Ensure the room is well-ventilated by opening windows or using fans.
- Protective gear: Always wear gloves, a mask, and goggles to shield yourself from fumes and paint splatters.
- Fire safety: Keep flammable materials away from areas where you are painting, and avoid using any open flames in the room.
- Stay organized: Keep your paint supplies neatly arranged to reduce trip hazards and maintain a clear workspace.
Conclusion
Painting your living room can dramatically change the feel of your home and give you a sense of accomplishment. With careful preparation and execution, you can achieve beautiful results that make your space feel refreshed.
If you find yourself overwhelmed or short on time, don't hesitate to reach out for professional help! QuickFlipz can assist you with expert painting services to ensure you get the perfect finish without the hassle. Contact us today to learn more!
Related Articles
The Weekend Warrior: How to Install Custom Floating Shelves
Elevate your home decor and maximize storage space with this simple, DIY-friendly floating shelf project. Learn the step-by-step process to achieve a professional-grade finish that transforms any room in your house.
Revitalize Your Space: A Beginner’s Guide to Installing Floating Shelves
Transform your blank walls into functional storage and stylish displays with this easy-to-follow guide. Learn how to install floating shelves safely and securely for an instant home upgrade.
Revitalize Your Space: A Beginner’s Guide to Installing Floating Shelves
Transform your blank walls into functional storage and stylish displays with this easy-to-follow guide. Whether you are a first-time renovator or a seasoned pro, installing floating shelves is the perfect weekend project to refresh your home’s aesthetic.