
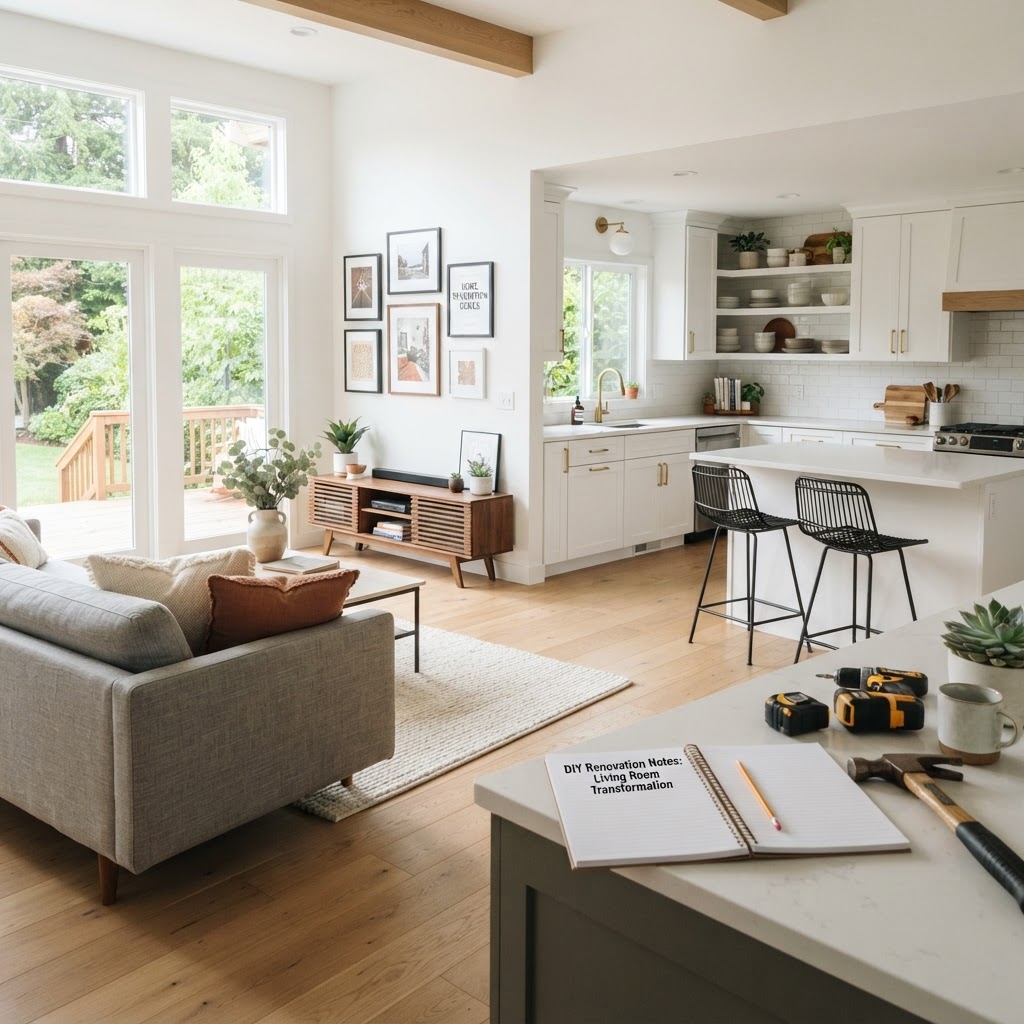
Transforming your home doesn't require a massive renovation budget; sometimes, a fresh coat of paint is all you need. This comprehensive guide walks you through the professional techniques to achieve a flawless finish on your interior walls.
Introduction: The Power of Paint
Few home improvement projects offer the immediate, high-impact results of a fresh paint job. Whether you are looking to brighten a dark hallway or create a moody, sophisticated atmosphere in your living room, painting is the ultimate DIY hack. While it may seem straightforward, achieving a professional-quality finish requires more than just a brush and a bucket. This guide is designed to help both the novice and the seasoned homeowner master the art of the perfect wall.
Materials You Will Need
Before you dive in, gather your supplies. Quality tools are half the battle.
- High-quality paint: Don't skimp here; spend the extra money for a paint-plus-primer blend.
- Angled sash brush: Essential for cutting in edges.
- High-density roller covers: Choose nap based on your wall texture (3/8-inch nap for smooth walls).
- Extension pole: This saves your back and ensures even pressure.
- Painter's tape: Use a high-quality brand to prevent paint bleed.
- Drop cloths: Canvas is superior to plastic for absorbing drips.
- Spackle and sandpaper: To repair imperfections before you start.
Step 1: Preparation is Everything
The biggest mistake DIYers make is rushing the prep work. Start by removing all hardware, outlet covers, and switch plates. Clean your walls thoroughly with a mixture of water and a drop of dish soap to remove dust and oils. If your walls have nicks, holes, or deep scratches, fill them with spackle, let them dry, and sand them smooth until they are flush with the wall.
Step 2: The Art of Taping and Cutting In
Apply your painter's tape to the trim, door frames, and ceilings. Be sure to press the edge down firmly. When "cutting in" (painting the edges where the roller can't reach), use your angled brush to paint a 2-3 inch border around the perimeter of the wall. Do not let this paint dry entirely before rolling the rest of the wall, as this helps the paint transition seamlessly.
Step 3: Rolling to Perfection
Pour your paint into the tray and load your roller. The key is to avoid overloading. Roll the paint in a 'W' or 'M' pattern to distribute the pigment evenly, then fill in the gaps without lifting the roller. Keep a 'wet edge'—always overlap your previous stroke while the paint is still tacky. This prevents unsightly lap marks.
Important Safety Tips
- Ventilation: Always keep windows open and run a fan to ensure proper airflow while paint is drying.
- Stability: Use a sturdy ladder, not a chair or stack of books, to reach high spots.
- Chemical Handling: Keep paints away from open flames and store them out of reach of children or pets.
Professional Pro-Tips
- The Second Coat: Always plan for two coats. One coat rarely provides full coverage or true color depth.
- Don't Overwork It: If you see a missed spot, let the wall dry before touching it up, or you risk peeling the wet paint.
- Remove Tape Early: Pull your painter's tape off while the second coat is still slightly damp to get the cleanest, sharpest line.
When to Call in the Experts
While painting is a fantastic project for a weekend warrior, some jobs are better left to the pros. If you have vaulted ceilings, complex architectural details, or if you simply lack the time to dedicate to a multi-day project, don't settle for subpar results. If you find yourself overwhelmed or in need of expert advice for your next big project, reach out to the team at QuickFlipz. We have the experience and precision to ensure your home looks its absolute best—contact us today for a professional consultation!
Related Articles
The Weekend Warrior: How to Install Custom Floating Shelves
Elevate your home decor and maximize storage space with this simple, DIY-friendly floating shelf project. Learn the step-by-step process to achieve a professional-grade finish that transforms any room in your house.
Revitalize Your Space: A Beginner’s Guide to Installing Floating Shelves
Transform your blank walls into functional storage and stylish displays with this easy-to-follow guide. Learn how to install floating shelves safely and securely for an instant home upgrade.
Revitalize Your Space: A Beginner’s Guide to Installing Floating Shelves
Transform your blank walls into functional storage and stylish displays with this easy-to-follow guide. Whether you are a first-time renovator or a seasoned pro, installing floating shelves is the perfect weekend project to refresh your home’s aesthetic.