
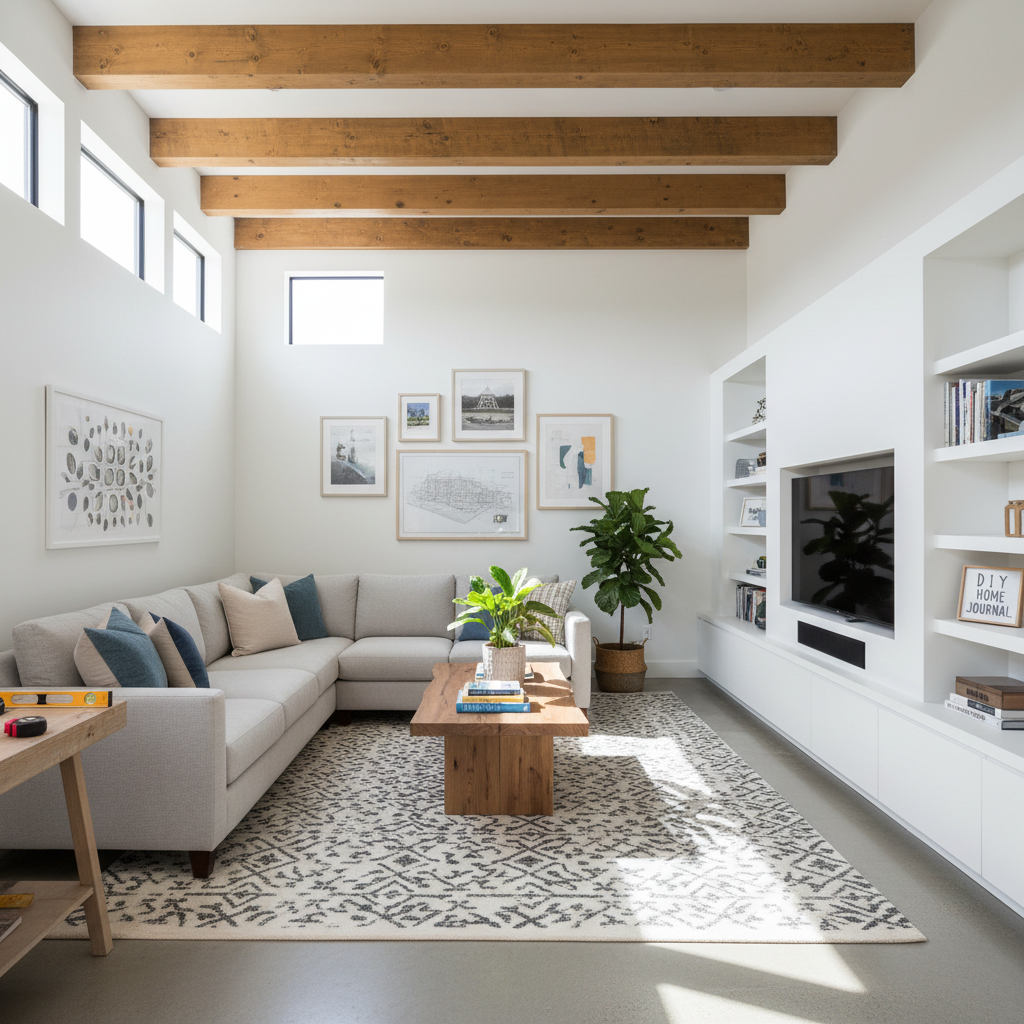
Looking to refresh your kitchen or bathroom? Installing a backsplash can be a fun and rewarding DIY project that elevates your living space. With the right materials and a little patience, you can create a stunning look that showcases your personal style.
Transform Your Living Space: A DIY Guide to Installing a Backsplash
Is your kitchen or bathroom in need of a facelift? A backsplash is both functional and stylish, protecting your walls from splashes while adding a pop of color or texture. In this guide, we’ll take you through the steps to install a simple backsplash, whether you’re a first-time renovator or an experienced homeowner looking for a weekend project.
Materials Needed
To get started, gather the following materials:
- Tiles (ceramic, glass, or peel-and-stick)
- Thin-set mortar (if using traditional tiles)
- Tile adhesive (for peel-and-stick tiles)
- Grout (if using traditional tiles)
- Tile spacers
- Trowel (for spreading mortar)
- Grout float
- Level
- Measuring tape
- Utility knife (for cutting tiles)
- Safety goggles
- Sponge
- Bucket
Step-by-Step Instructions
Follow these steps to successfully install a backsplash:
Step 1: Prepare Your Surface
Before you start, ensure the wall surface is clean, dry, and smooth. Remove any old backing or remnants of previous tile. Fill any holes or imperfections with spackling compound and sand it down.
Step 2: Measure and Mark
Using the measuring tape, determine the area you want to cover with the backsplash. Mark the outline lightly on the wall with a pencil to guide your tile placement. Use a level to ensure your lines are straight.
Step 3: Plan Your Design
Layout the tiles on your countertop or floor before attaching them to the wall. This helps you visualize the pattern and make any necessary adjustments. For a more dynamic look, consider mixing colors or tile styles.
Step 4: Apply Adhesive or Mortar
For traditional tiles, mix your thin-set mortar according to the package instructions. Using the trowel, spread a thin layer of mortar on the wall, starting from the center and working your way out. For peel-and-stick tiles, simply remove the backing and press the tile onto the wall.
Step 5: Place the Tiles
Begin placing your tiles according to your layout, pressing them firmly into the mortar (or adhesive). Insert tile spacers between each tile to ensure even spacing. Continually check with your level to keep everything straight and level.
Step 6: Cut Tiles as Needed
You may need to cut tiles to fit around outlets or edges. Use a utility knife for peel-and-stick tiles or a tile cutter for traditional tiles, ensuring you wear safety goggles during this step.
Step 7: Allow Adhesive to Set
Let your tiles set for at least 24 hours before moving to the next step. This ensures they adhere properly and won’t shift when you apply grout.
Step 8: Grouting (For Traditional Tiles)
Once the tile has set, it’s time to grout. Mix grout according to the package instructions. Using a grout float, apply the grout at a 45-degree angle, filling in the spaces between the tiles. Be careful not to remove grout from the tile surface.
Step 9: Clean the Tiles
After applying the grout, use a damp sponge to wipe the surface of the tiles clean. Be sure to do this within 15-30 minutes of applying the grout to avoid it setting on the tile.
Step 10: Allow Grout to Cure
Let the grout cure as directed on the package (usually 72 hours) before cleaning or using the area to ensure a solid finish.
Step 11: Sealing (Optional)
After the grout has fully cured, consider applying a grout sealant to protect it from stains and moisture, especially in kitchens and bathrooms.
Safety Tips
- Always wear safety goggles when cutting tiles, and consider gloves to avoid sharp edges.
- Make sure to work in a well-ventilated area, especially when using adhesives or grout.
- Take breaks and avoid fatigue—this project requires focus and precision!
Practical Examples
- If you’re on a budget, consider using peel-and-stick tiles that mimic the look of real stone or glass without the labor of traditional installation.
- For a modern look, try a herringbone pattern with subway tiles. This stylish design is popular and can serve as a stunning focal point in your kitchen or bathroom.
Conclusion
Installing a backsplash can transform your space and add value to your home. With patience and the right tools, this DIY project is achievable for anyone willing to get their hands a little dirty. Don’t hesitate to reach out if you run into any challenges or if you prefer a professional finish. Contact QuickFlipz today to help make your home improvement dreams a reality, ensuring a perfect and beautiful backsplash that you’ll admire for years to come!
Related Articles
The Weekend Warrior: How to Install Custom Floating Shelves
Elevate your home decor and maximize storage space with this simple, DIY-friendly floating shelf project. Learn the step-by-step process to achieve a professional-grade finish that transforms any room in your house.
Revitalize Your Space: A Beginner’s Guide to Installing Floating Shelves
Transform your blank walls into functional storage and stylish displays with this easy-to-follow guide. Learn how to install floating shelves safely and securely for an instant home upgrade.
Revitalize Your Space: A Beginner’s Guide to Installing Floating Shelves
Transform your blank walls into functional storage and stylish displays with this easy-to-follow guide. Whether you are a first-time renovator or a seasoned pro, installing floating shelves is the perfect weekend project to refresh your home’s aesthetic.