
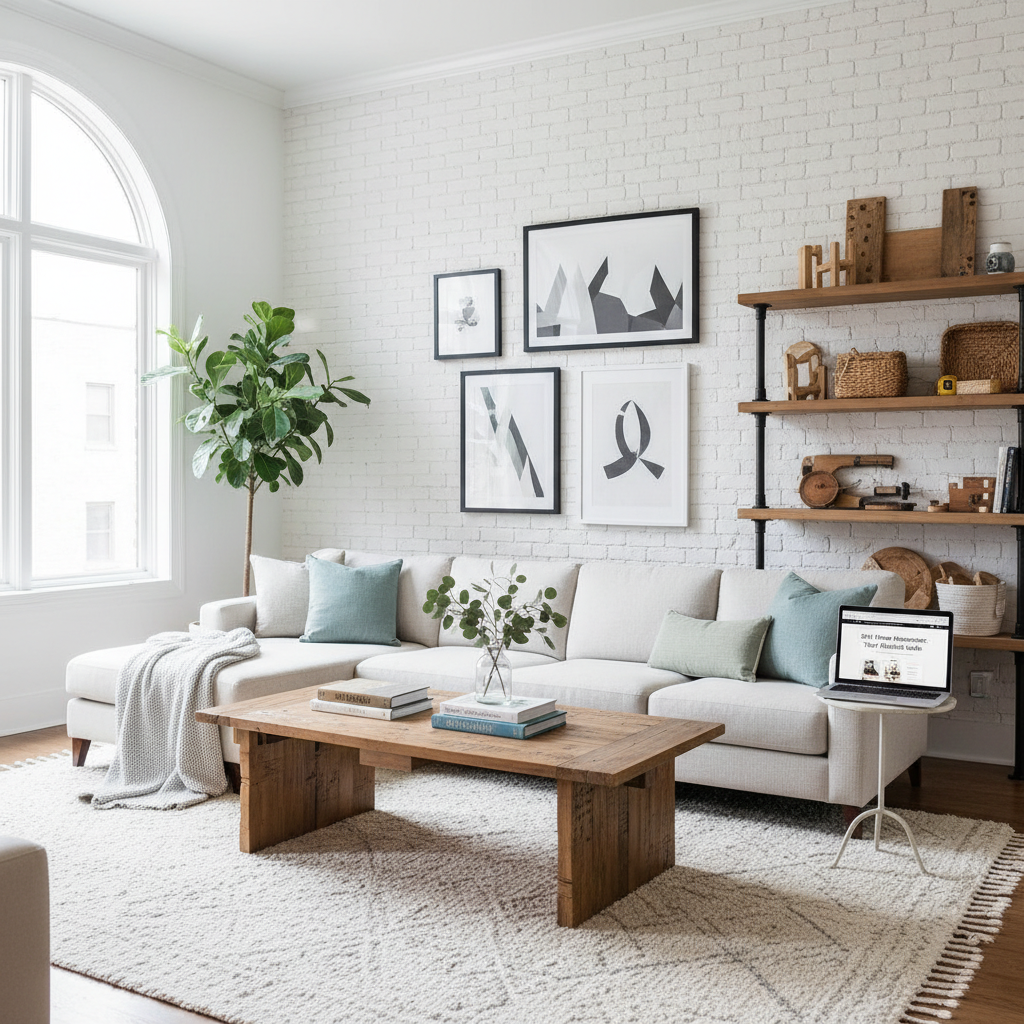
Revamping your kitchen or bathroom can be simple and rewarding! In this guide, we'll take you through the step-by-step process of installing a beautiful tile backsplash that adds both function and flair to your home. Perfect for first-time renovators and seasoned DIYers alike!
Transform Your Space: A DIY Guide to Installing a Stylish Backsplash
Are you looking for a way to spruce up your kitchen or bathroom without breaking the bank? Installing a tile backsplash is a fantastic DIY project that can elevate your home's aesthetic while providing a practical surface to defend against splashes and stains. In this guide, we’ll walk you through the entire process, ensuring that you feel confident and prepared.
Materials Needed
Before starting your project, gather the following materials:
- Tile of your choice (ceramic, glass, or stone)
- Tile adhesive (thin-set mortar or mastic)
- Grout (sanded or unsanded, depending on the tile size)
- Tile spacers
- Trowel
- Grout float
- Wet saw or tile cutter
- Sponge
- Level
- Tape measure
- Pencil
- Safety glasses
- Dust mask
- Caulk and caulk gun (for sealing edges)
Step-by-Step Instructions
Let’s get started!
Step 1: Prepare the Surface
- Clean the wall where you’ll be installing the backsplash. Remove any grease, dust, or old adhesive residues.
- Ensure the surface is smooth and dry. If necessary, patch any holes or imperfections.
Step 2: Plan Your Layout
- Measure the area you want to cover and calculate how many tiles you will need.
- Lay the tiles on the floor to visualize the pattern and make adjustments before installation. Keep in mind the design you want, such as straight, diagonal, or a staggered pattern.
- Use a level to mark a straight line on the wall to use as a guide.
Step 3: Apply the Tile Adhesive
- Using a trowel, apply the tile adhesive to the wall, starting from the center and moving outward. Spread enough adhesive to cover only a small area that you can work within 15-20 minutes to prevent it from drying out.
- Make sure to create ridges in the adhesive with the trowel; this helps ensure a better bond with the tiles.
Step 4: Place the Tiles
- Press the tiles into the adhesive firmly, twisting slightly to make sure they set properly.
- Insert tile spacers between each tile to maintain even spacing.
- Continue this process, row by row, until the entire area is covered. Don’t forget to cut tiles as needed to fit along the edges using a wet saw or tile cutter.
Step 5: Let It Set
- Allow the adhesive to set according to the manufacturer's instructions (usually 24 hours).
Step 6: Grouting
- Once the adhesive is dry, remove the tile spacers and prepare to grout.
- Mix the grout according to the package instructions.
- Using a grout float, apply the grout diagonally across the tiles, pushing it into the joints.
- Wipe off excess grout with a damp sponge before it hardens, making sure not to pull grout from the joints.
- After the grout has cured for the recommended time (about 24-48 hours), you can clean the tiles with a cloth to remove any haze.
Step 7: Caulking and Finishing Touches
- Once the grout is completely dry, apply caulk along the edges where the backsplash meets the countertop, cabinets, or wall to provide a clean finish and prevent moisture infiltration.
- Allow the caulk to cure as per the instructions on the tube.
Safety Tips
- Wear safety glasses and a dust mask when cutting tiles. This will protect your eyes from debris and prevent inhalation of tile dust.
- Ensure your workspace is well-ventilated, especially when using adhesives and grout.
- If you’re lifting heavy materials or using power tools, proper lifting techniques and tool safety are essential. Don’t hesitate to ask for help!
Conclusion
Congratulations! You've transformed your space with a stunning tile backsplash that not only looks great but also adds functionality to your kitchen or bathroom. This DIY project is an excellent way to boost your home's appeal while building your renovation skills.
If at any point you feel overwhelmed or would prefer to have a professional handle your renovation project, contact QuickFlipz today. Our team of experts is ready to help you achieve your home improvement goals efficiently and effectively. Happy tiling!
Related Articles
The Weekend Warrior: How to Install Custom Floating Shelves
Elevate your home decor and maximize storage space with this simple, DIY-friendly floating shelf project. Learn the step-by-step process to achieve a professional-grade finish that transforms any room in your house.
Revitalize Your Space: A Beginner’s Guide to Installing Floating Shelves
Transform your blank walls into functional storage and stylish displays with this easy-to-follow guide. Learn how to install floating shelves safely and securely for an instant home upgrade.
Revitalize Your Space: A Beginner’s Guide to Installing Floating Shelves
Transform your blank walls into functional storage and stylish displays with this easy-to-follow guide. Whether you are a first-time renovator or a seasoned pro, installing floating shelves is the perfect weekend project to refresh your home’s aesthetic.