
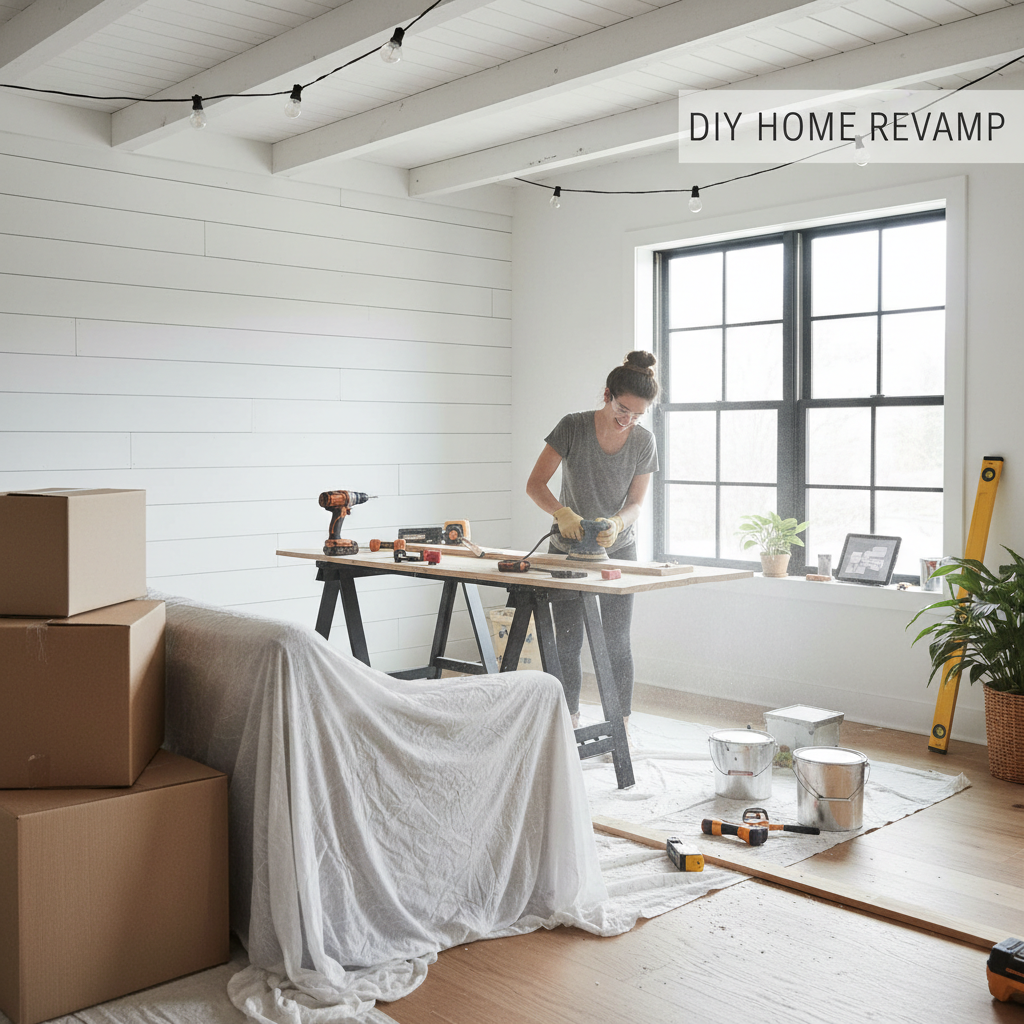
Unlock the potential of your walls with this easy DIY project—floating shelves! Perfect for showcasing your favorite decor, these shelves add style and function to any room, and this guide will walk you through the entire process.
Transform Your Space: A DIY Guide to Installing Floating Shelves
Are your walls looking bare? Floating shelves are a fantastic way to add both beauty and functionality to your home. This simple DIY project can be tackled by anyone, whether you're a first-time renovator or an experienced homeowner looking for a weekend activity. Not only will these shelves give you extra storage, but they'll also serve as a perfect canvas for your decorative items!
Materials Needed
Before we dive into the step-by-step guide, let’s gather the materials you’ll need:
- Floating shelf brackets: Choose hidden brackets for a sleek look.
- Wood for shelves: Select a material (like plywood, MDF, or solid wood) based on your style and desired finish. Common sizes are 24” x 10” for a medium shelf.
- Wood screws: 1.5” screws typically work well.
- Wall anchors: Required for securing the shelves into drywall.
- Drill: For making holes.
- Level: To ensure your shelves are straight.
- Screwdriver: For tightening screws.
- Measuring tape: For marking measurements accurately.
- Pencil: For marking your drill holes.
- Sandpaper (optional): To smooth any rough edges of the shelf.
- Paint or stain (optional): To finish and match your selected wood color to your decor.
Step-by-Step Instructions
Now that you have everything you need, let’s get started!
Step 1: Choose Your Location
Decide where you want your floating shelves to go. Common places include:
- Living rooms for books, trinkets, and plants.
- Kitchens for spices or decorative dishes.
- Bathrooms for toiletries or decor. Make sure there’s space for the items you want to display.
Step 2: Measure and Mark
Using your measuring tape, determine how high you want the shelves to be placed. Use a pencil to mark the location on the wall. Consider using a level as a guide to ensure that your marks are horizontal.
Step 3: Install the Brackets
- Hold the bracket against the wall and use your level to ensure it is straight.
- Mark the screw holes through the bracket onto the wall.
- Remove the bracket and drill holes where you marked.
- If you're drilling into drywall, insert wall anchors into the drilled holes for added support (especially important if you plan to place heavy items on the shelves).
- Secure the bracket to the wall using screws.
Step 4: Prepare Your Shelves
- If you need to, sand the edges of your shelves for a smooth finish.
- Apply your chosen paint or stain and let it dry completely.
Step 5: Mount the Shelves
- Once the brackets are firmly mounted on the wall, slide your prepared shelves onto the brackets.
- Ensure the shelves are flush against the wall and evenly positioned on the brackets. Use a level to check.
- Secure your shelf to the bracket using the provided screws (if applicable).
Step 6: Style It Up!
Now comes the fun part! Add your decorative items, books, plants, or whatever you desire. Rearrange them until you find a layout that pleases your eye.
Safety Tips
- Always wear safety glasses when using power tools.
- Check for electric wires, plumbing, or anything else that might be behind the walls before drilling. A stud finder can help.
- If lifting heavy shelves or items, use proper lifting techniques to avoid strain.
Conclusion
Floating shelves are not just functional—they're a stylistic enhancement to any room in your home. This DIY project is manageable and rewarding, providing a great space for your belongings and a chance to personalize your area. If you're facing a bigger project or want professional assistance, don’t hesitate to reach out to QuickFlipz. We’re here to help you transform your home with ease and expertise!
Call to Action
Feeling inspired but need a hand? Contact QuickFlipz today to discuss your home improvement ideas and let our team guide you on your renovation journey!
Related Articles
The Weekend Warrior: How to Install Custom Floating Shelves
Elevate your home decor and maximize storage space with this simple, DIY-friendly floating shelf project. Learn the step-by-step process to achieve a professional-grade finish that transforms any room in your house.
Revitalize Your Space: A Beginner’s Guide to Installing Floating Shelves
Transform your blank walls into functional storage and stylish displays with this easy-to-follow guide. Learn how to install floating shelves safely and securely for an instant home upgrade.
Revitalize Your Space: A Beginner’s Guide to Installing Floating Shelves
Transform your blank walls into functional storage and stylish displays with this easy-to-follow guide. Whether you are a first-time renovator or a seasoned pro, installing floating shelves is the perfect weekend project to refresh your home’s aesthetic.