
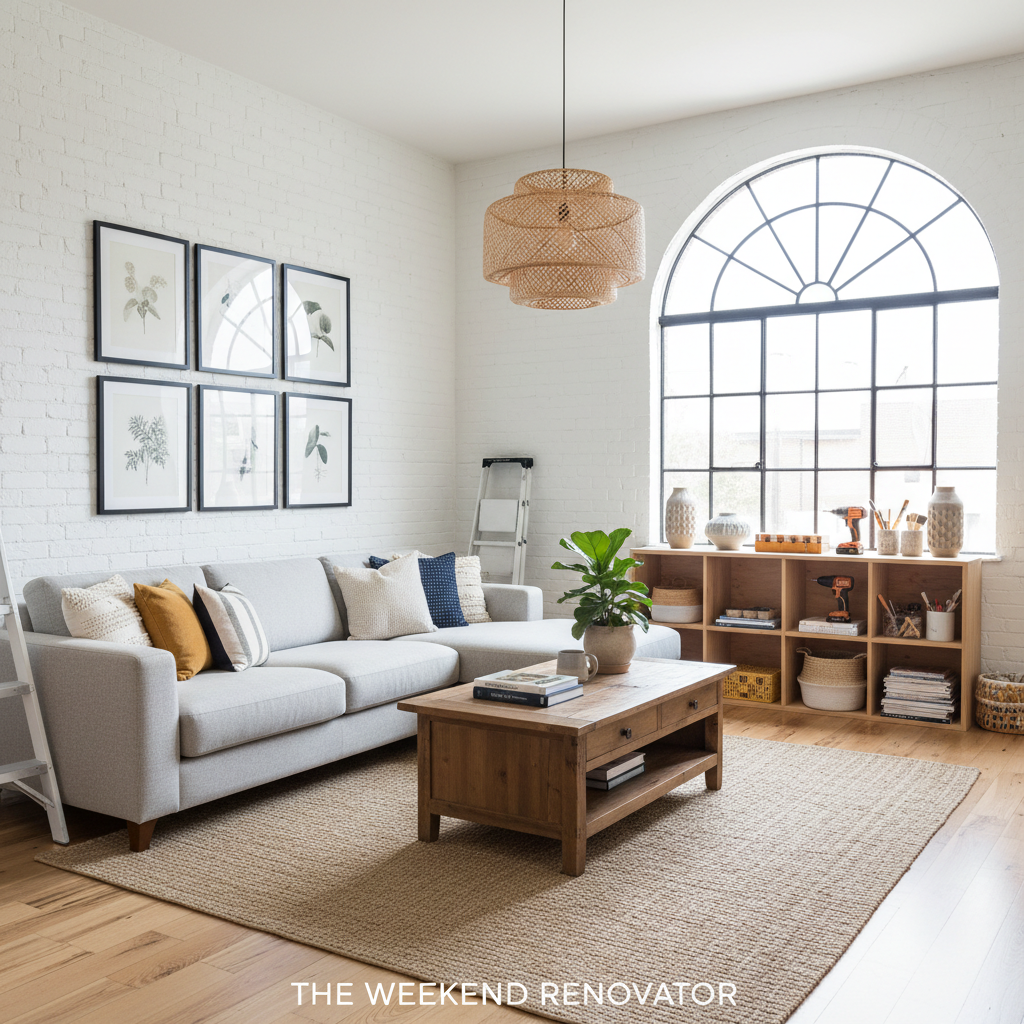
Looking to refresh your living room without breaking the bank? This step-by-step DIY guide will walk you through the process of painting your living room, making it easier than ever—whether you're a first-time renovator or an experienced homeowner. Grab your brushes and let's dive in!
Transform Your Space: A DIY Guide to Painting Your Living Room
Are you tired of the same old walls? A fresh coat of paint can dramatically change the look and feel of your living room. Painting is one of the most rewarding DIY projects you can tackle at home, and with the right tools and techniques, you can achieve professional-looking results. In this guide, we’ll cover everything you need to know to paint your living room from start to finish.
Materials Needed
Before you start, gather the following materials:
- Paint: Choose your preferred color and finish (matte, eggshell, satin, or gloss).
- Primer: If you are making a drastic color change or painting over a darker color.
- Paint rollers and trays: For large wall areas.
- Paintbrushes: A 2-3 inch brush for edges and corners.
- Painter’s tape: To protect trim and edges from paint.
- Drop cloths or plastic sheets: To protect your floors and furniture.
- Sandpaper: For smoothing any rough patches on the walls.
- Putty knife and patching compound: To repair small holes or imperfections.
- Ladder: For reaching higher areas.
- Paint stirrer: To mix your paint.
- Rags: For spills and cleanup.
- Safety goggles and masks: To protect your eyes and lungs.
Step-by-Step Instructions
1. Prepare Your Space
Before you start painting, preparation is key. Here are the steps to follow:
- Remove all furniture or move it to the center of the room and cover it with drop cloths.
- Take down pictures, wall décor, and any wall-mounted fixtures.
- Clean the walls to remove dust and cobwebs.
- Use sandpaper to smooth any rough spots or imperfections.
- Fill any holes or cracks with patching compound using a putty knife. Let it dry completely, then sand it down for a smooth finish.
2. Tape Off Edges
Using painter’s tape, carefully tape off areas where you do not want paint, such as:
- Baseboards
- Window frames
- Door frames
- Any other trim or molding This step ensures clean lines and prevents paint from bleeding into these areas.
3. Prime the Walls (If Necessary)
If you are painting over a darker color or porous surface, apply a coat of primer:
- Choose a primer that suits your paint type (water-based or oil-based).
- Using a roller, apply the primer to the wall in a W pattern for even coverage.
- Allow the primer to dry as per the manufacturer’s instructions.
4. Start Painting
Once your primer is dry, you’re ready to paint:
- Stir the paint thoroughly to ensure an even color.
- Begin by painting the edges and corners with a brush, carefully cutting in around taped areas.
- Use a roller for the larger wall areas. Dip the roller in the tray and remove excess paint before applying it to the wall. Roll in a W pattern to spread the paint evenly.
- For the best results, apply two coats of paint, allowing adequate drying time between each coat.
5. Final Touches
After the second coat has dried:
- Carefully remove the painter’s tape before the paint fully dries to avoid peeling.
- Touch up any areas that need more paint with a small brush.
- Clean up your tools and properly dispose of any waste materials.
6. Reassemble the Room
Once everything is dry:
- Move your furniture back into place.
- Add your wall décor and enjoy your newly painted living room! You might also consider introducing new accent pieces or decor to complement your freshened up space.
Safety Tips
- Ventilation: Ensure the room is well-ventilated by opening windows and using fans.
- Protect Your Eyes and Lungs: Always wear safety goggles and masks when handling paint and stripping tools.
- Follow Instructions: Read all the labels and safety instructions on your paint and supplies carefully.
Conclusion
Painting your living room can completely transform your space while being a fulfilling DIY project you can tackle on your own. With a little patience and careful execution, you can achieve results that make your home feel refreshed and welcoming. If you find that painting just isn’t your thing, or if you’d like to enhance the project further with professional-grade finishes, don’t hesitate to reach out to QuickFlipz for expert assistance. Happy painting!
Related Articles
The Weekend Warrior: How to Install Custom Floating Shelves
Elevate your home decor and maximize storage space with this simple, DIY-friendly floating shelf project. Learn the step-by-step process to achieve a professional-grade finish that transforms any room in your house.
Revitalize Your Space: A Beginner’s Guide to Installing Floating Shelves
Transform your blank walls into functional storage and stylish displays with this easy-to-follow guide. Learn how to install floating shelves safely and securely for an instant home upgrade.
Revitalize Your Space: A Beginner’s Guide to Installing Floating Shelves
Transform your blank walls into functional storage and stylish displays with this easy-to-follow guide. Whether you are a first-time renovator or a seasoned pro, installing floating shelves is the perfect weekend project to refresh your home’s aesthetic.