
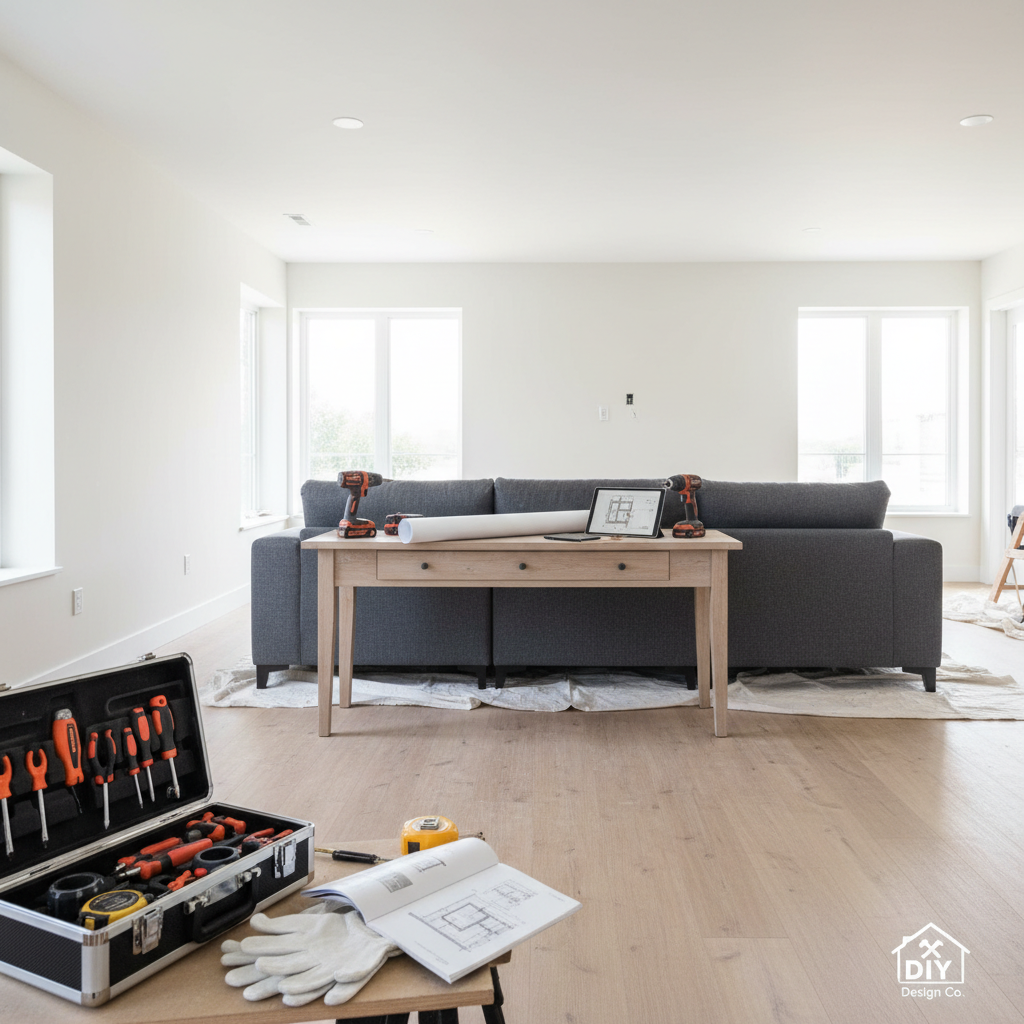
Revamping a room doesn't have to be a daunting task! With this simple DIY guide, you'll learn how to paint any room in your home like a pro. From choosing colors to achieving a flawless finish, we've got you covered.
Transform Your Space: A Step-by-Step Guide to Painting a Room
Freshening up a room with a new coat of paint is one of the easiest and most cost-effective home improvement projects. Whether you're sprucing up the living room or giving your bedroom a makeover, painting can dramatically transform your space. In this guide, we’ll walk you through everything you need to know to tackle this project successfully.
Materials Needed
To paint a room, you'll require the following materials:
- Paint: Choose your color (latex paint is recommended for most interior applications).
- Primer: Especially important if you're painting over a darker color or on raw drywall.
- Paint rollers and trays: For large surfaces, a roller makes the job quicker.
- Brushes: A 2- to 3-inch angled brush for edges and corners.
- Painter's tape: To protect trim and ensure clean lines.
- Drop cloths or old sheets: To protect flooring and furniture.
- Sandpaper: For smoothing out surfaces if necessary.
- Plastic putty knife: To fill any holes or cracks with spackle.
- Ladder: For reaching high spots.
- Gloves and a mask: To protect yourself from paint and fumes.
Step-by-Step Instructions
Step 1: Prepare the Room
- Clear the Space: Remove all furniture, decor, and items from the walls. If you can’t move everything, place larger items in the center of the room and cover them with drop cloths.
- Protect Your Floors: Lay down drop cloths to protect your flooring from any spills.
- Tape It Up: Use painter's tape along the edges of trim, doors, and windows to ensure sharp lines.
Step 2: Prep the Walls
- Clean the Walls: Wipe down the walls with a damp cloth to remove dust and grease.
- Repair Any Damage: Use a putty knife to fill in holes or cracks with spackle. Let it dry, then sand it smooth.
- Prime the Walls: If you're changing from a dark to a light color or painting over a shiny finish, apply a coat of primer to help the paint adhere better.
Step 3: Start Painting
- Cut in the Edges: Using an angled brush, carefully paint around trim, light switches, and edges. This is known as “cutting in” and allows your roller to cover the main areas effectively.
- Use the Roller: Pour paint into the tray and load your roller. Start in a corner and use smooth, even strokes. Work in sections, applying the paint in a W or M pattern for even coverage.
- Apply Additional Coats: Depending on the color change and quality of the paint, you may need a second (or third) coat. Allow drying time between coats as indicated on the paint can label.
Step 4: Finish Up
- Remove Tape: Once the final coat is dry, carefully remove the painter's tape before the paint completely cures for the cleanest lines.
- Clean Your Tools: Clean your brushes and rollers with soap and water if you used latex paint; otherwise, use the appropriate solvent.
- Let the Paint Cure: Allow the painted walls to cure as recommended (often several days) before moving furniture back and hanging decor.
Safety Tips
- Ventilation: Always work in a well-ventilated area. Open windows and use fans to help circulate air.
- Protective Gear: Wear gloves and a mask, especially if you’re sensitive to fumes.
- Ladder Safety: When using a ladder, ensure it's on stable ground, and never overreach. Always keep your body centered on the rungs.
- Follow Instructions: Adhere to manufacturer's guidelines regarding drying times and application methods for the best results.
Conclusion
Painting a room is a straightforward project that can breathe new life into your home. With the right materials and some careful preparation, you can achieve stunning results. Remember, practice makes perfect — don’t hesitate to take your time and enjoy the process!
If you find yourself short on time or confidence, don’t worry! QuickFlipz is here to help. Our experienced professionals can assist you with all your home improvement needs, including expert painting services. Reach out today for a consultation!
Related Articles
The Weekend Warrior: How to Install Custom Floating Shelves
Elevate your home decor and maximize storage space with this simple, DIY-friendly floating shelf project. Learn the step-by-step process to achieve a professional-grade finish that transforms any room in your house.
Revitalize Your Space: A Beginner’s Guide to Installing Floating Shelves
Transform your blank walls into functional storage and stylish displays with this easy-to-follow guide. Learn how to install floating shelves safely and securely for an instant home upgrade.
Revitalize Your Space: A Beginner’s Guide to Installing Floating Shelves
Transform your blank walls into functional storage and stylish displays with this easy-to-follow guide. Whether you are a first-time renovator or a seasoned pro, installing floating shelves is the perfect weekend project to refresh your home’s aesthetic.